At school I do a secret santa with some of my friends and this year I picked my beastie Ella! I chose to make the heartwarming gift of a distracting Japanese Eraser Headband!!
Here’s what you need to make this cute craft project!

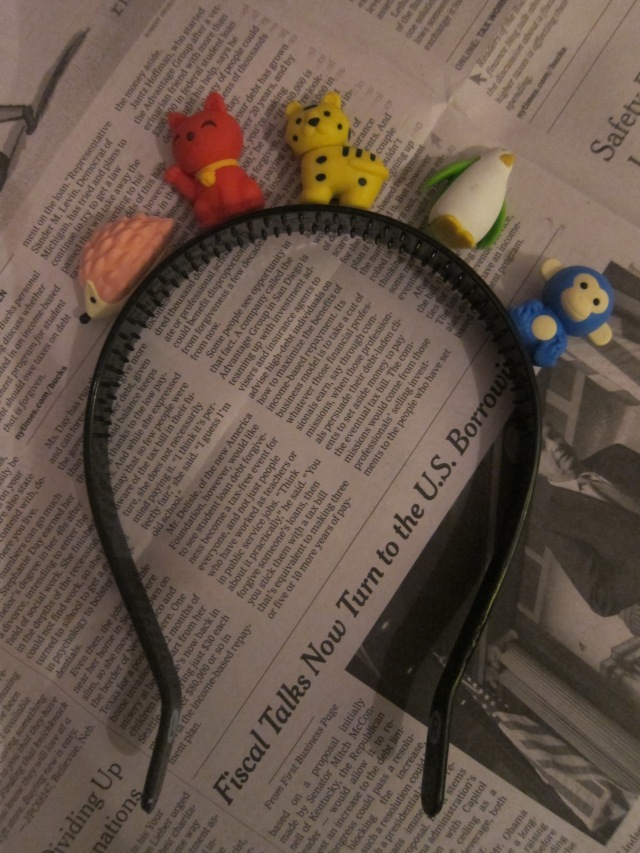
I bought five Japanese erasers from a local toy store, but if you can’t find any locally, just order them from this website . You also need a plastic headband that is wide enough to put the erasers on. And, to get it on, a glue gun.
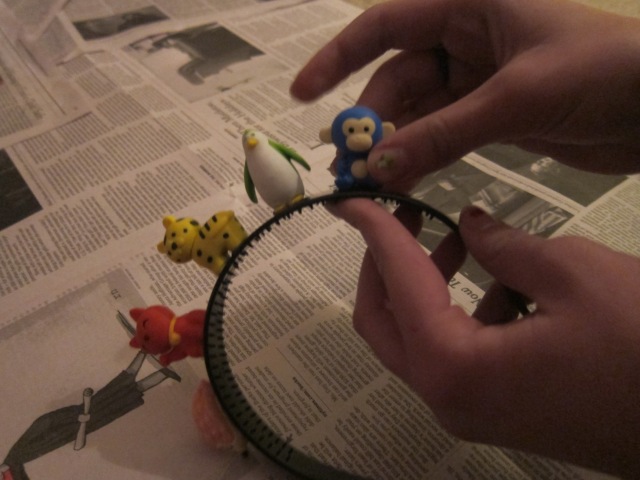
First make sure you have it set up in the desired order. I assumed this was the easy part, but the first time I did it, I glued it on backwards! So make sure it’s right side up.
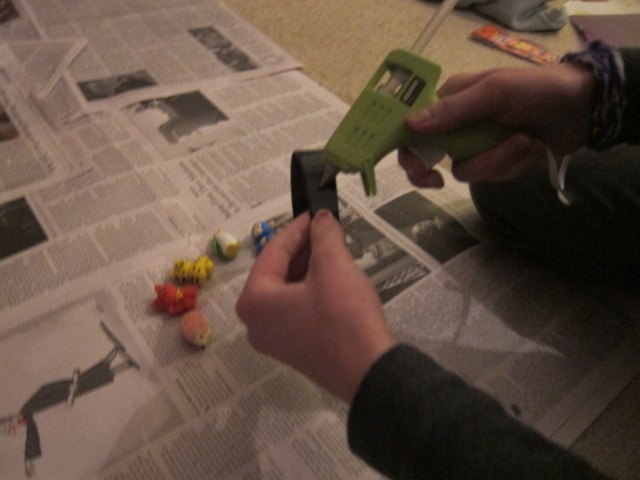
Then, warm up the glue gun and mark each “glue-spot”. Then, (be careful not to burn yourself! I actually have a scar on my thumb from bedazzling my friend’s ceiling-her mother was not amused) start gluing it.
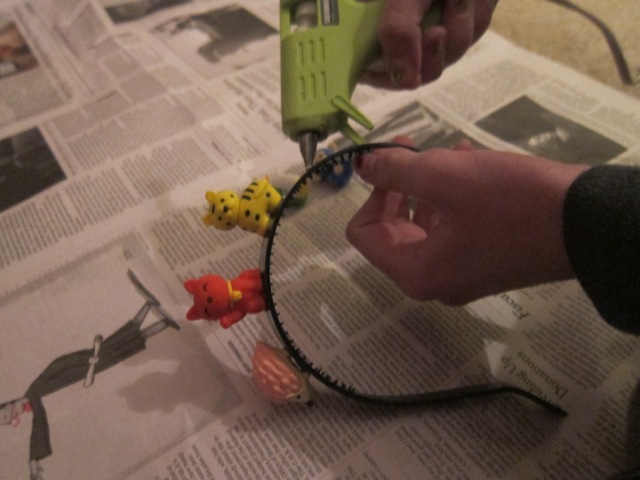
After you add the erasers, the glue will rift up around them, so you need to scrape it off. The sooner the better, so work on one before going on to the next.
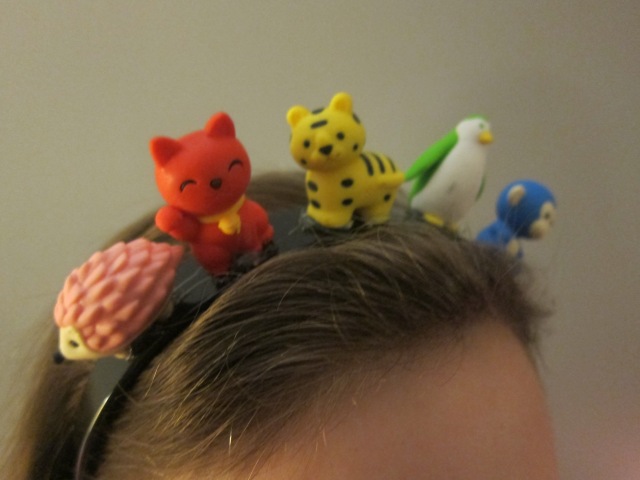
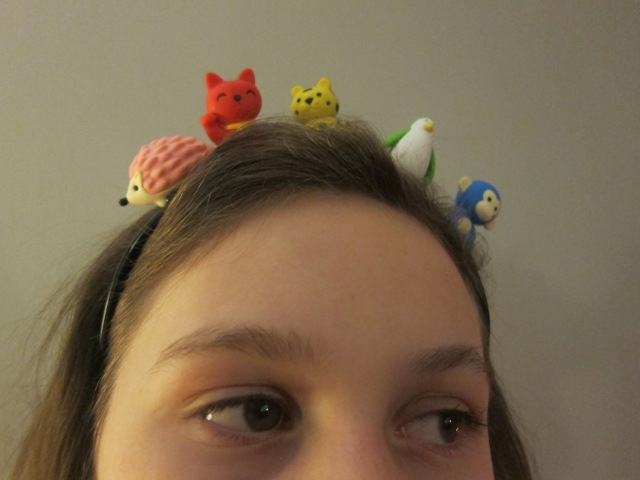
And voíla! You have a gorgeous home-made headband. See how feisty it looks? Plus, it’s unique, a perfect gift for a teenager if you’re on a budget and still want to give something special. It also only takes about ten or fifteen minutes to do, so it’s really the best idea!

Love,
Emma
